A Guiding Hand: Using Teach Mode and the Jog Panel
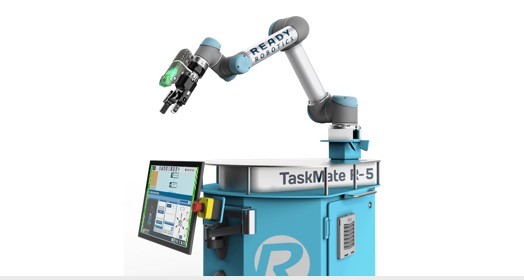
Robot arm motions are likely to occupy most of programming time when using the TaskMate. Rarely are there arbitrary motions in a task; from something as precise as inserting a tap into a hole to something as simple as dropping a finished part into a large bin, each motion is important to the continuity and reliability of the entire task. As such, the TaskMate has two primary methods for creating waypoints and motions that balance coarse motions over a large distance with precise motions within a tight space.
Teach Mode
The easiest way to move the TaskMate arm over large distances is in Teach Mode. While in Teach Mode, the arm will respond to a push or a pull by moving freely in the direction the user moves it. If the TaskMate is properly configured with the correct end of arm tooling, the arm it will support its own weight even while moving freely.
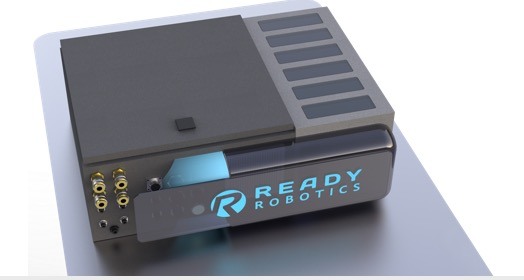
The TeachMate turns blue to indicate Teach Mode. The TeachMate is the ideal gripping location when moving the robot arm in Teach Mode.
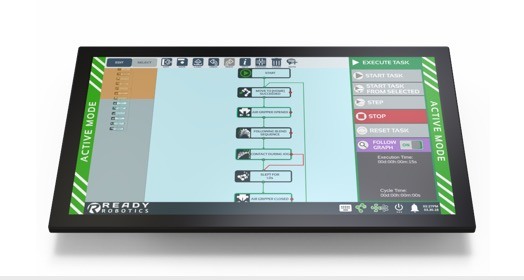
To enter Teach Mode from the TeachMate, simultaneously press and release buttons 01 and 04 at the front of the TeachMate. To enter Teach Mode from the ForgeOS software, open the Robot Control Panel and select Teach Mode. Both the TeachMate LEDs and ForgeOS border will change to blue to indicate that the TaskMate is in Teach Mode.
By gripping the TeachMate behind the buttons, the user can freely make coarse adjustments to the arm position within its workspace. In Teach Mode, all joints can be individually articulated, enabling better positioning of the entire arm from the shoulder joint down to the final wrist joint.
Note that in Teach Mode, the TaskMate will not remember the path you took between waypoints, but it will only remember the location of the waypoint when it is saved. This means that you cannot expect the system to recreate your exact motions, only to find the shortest distance between them.
Jog Panel
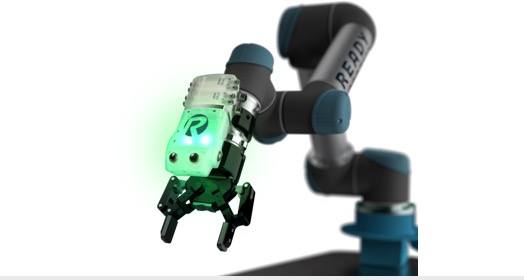
Coarse adjustments in Teach Mode are great when you need the robot arm to move large distances, but they’re not always the best way to program precision into your task. For that need, we have the jog panel. You can access the jog panel at any time by opening the Robot Control Panel and putting the TaskMate in Active Mode, indicated by the TeachMate LEDs and ForgeOS border turning green.
The jog panel can be accessed from any screen by opening the Robot Control Panel
The jog panel enables both jogging and jumping. Jogging is the motion when the user holds a directional button and the robot arm moves while the button is held down. Jumping is the motion when the user enters a distance and direction and the robot arm moves that distance and then stops.
Both jogging and jumping allow the user to make precise motions with the robot arm. For example, pressing and releasing a jog direction is the ideal method to move the arm into rotational alignment with a chuck in a CNC lathe. Jumping by a set distance is the ideal method to program waypoints above a grid of known dimensions.
If there is a TCP offset other than the default value, the jog buttons will apply this offset to the directional buttons. Applying a TCP offset can be done from the Setup Tool section of the System Loadout Screen and is covered in depth in another article.
Working Together
Both Teach Mode and jogging have their advantages and disadvantages – the key to mastering movement on the TaskMate is mastering them both. When creating waypoints, use Teach Mode to program smooth blends or position the robot arm close to the desire location. Then fine tune those precise waypoints with the jog panel until you get the exact motions for your task.


